Showing posts with label polymer. Show all posts
Showing posts with label polymer. Show all posts
Monday, May 6, 2024
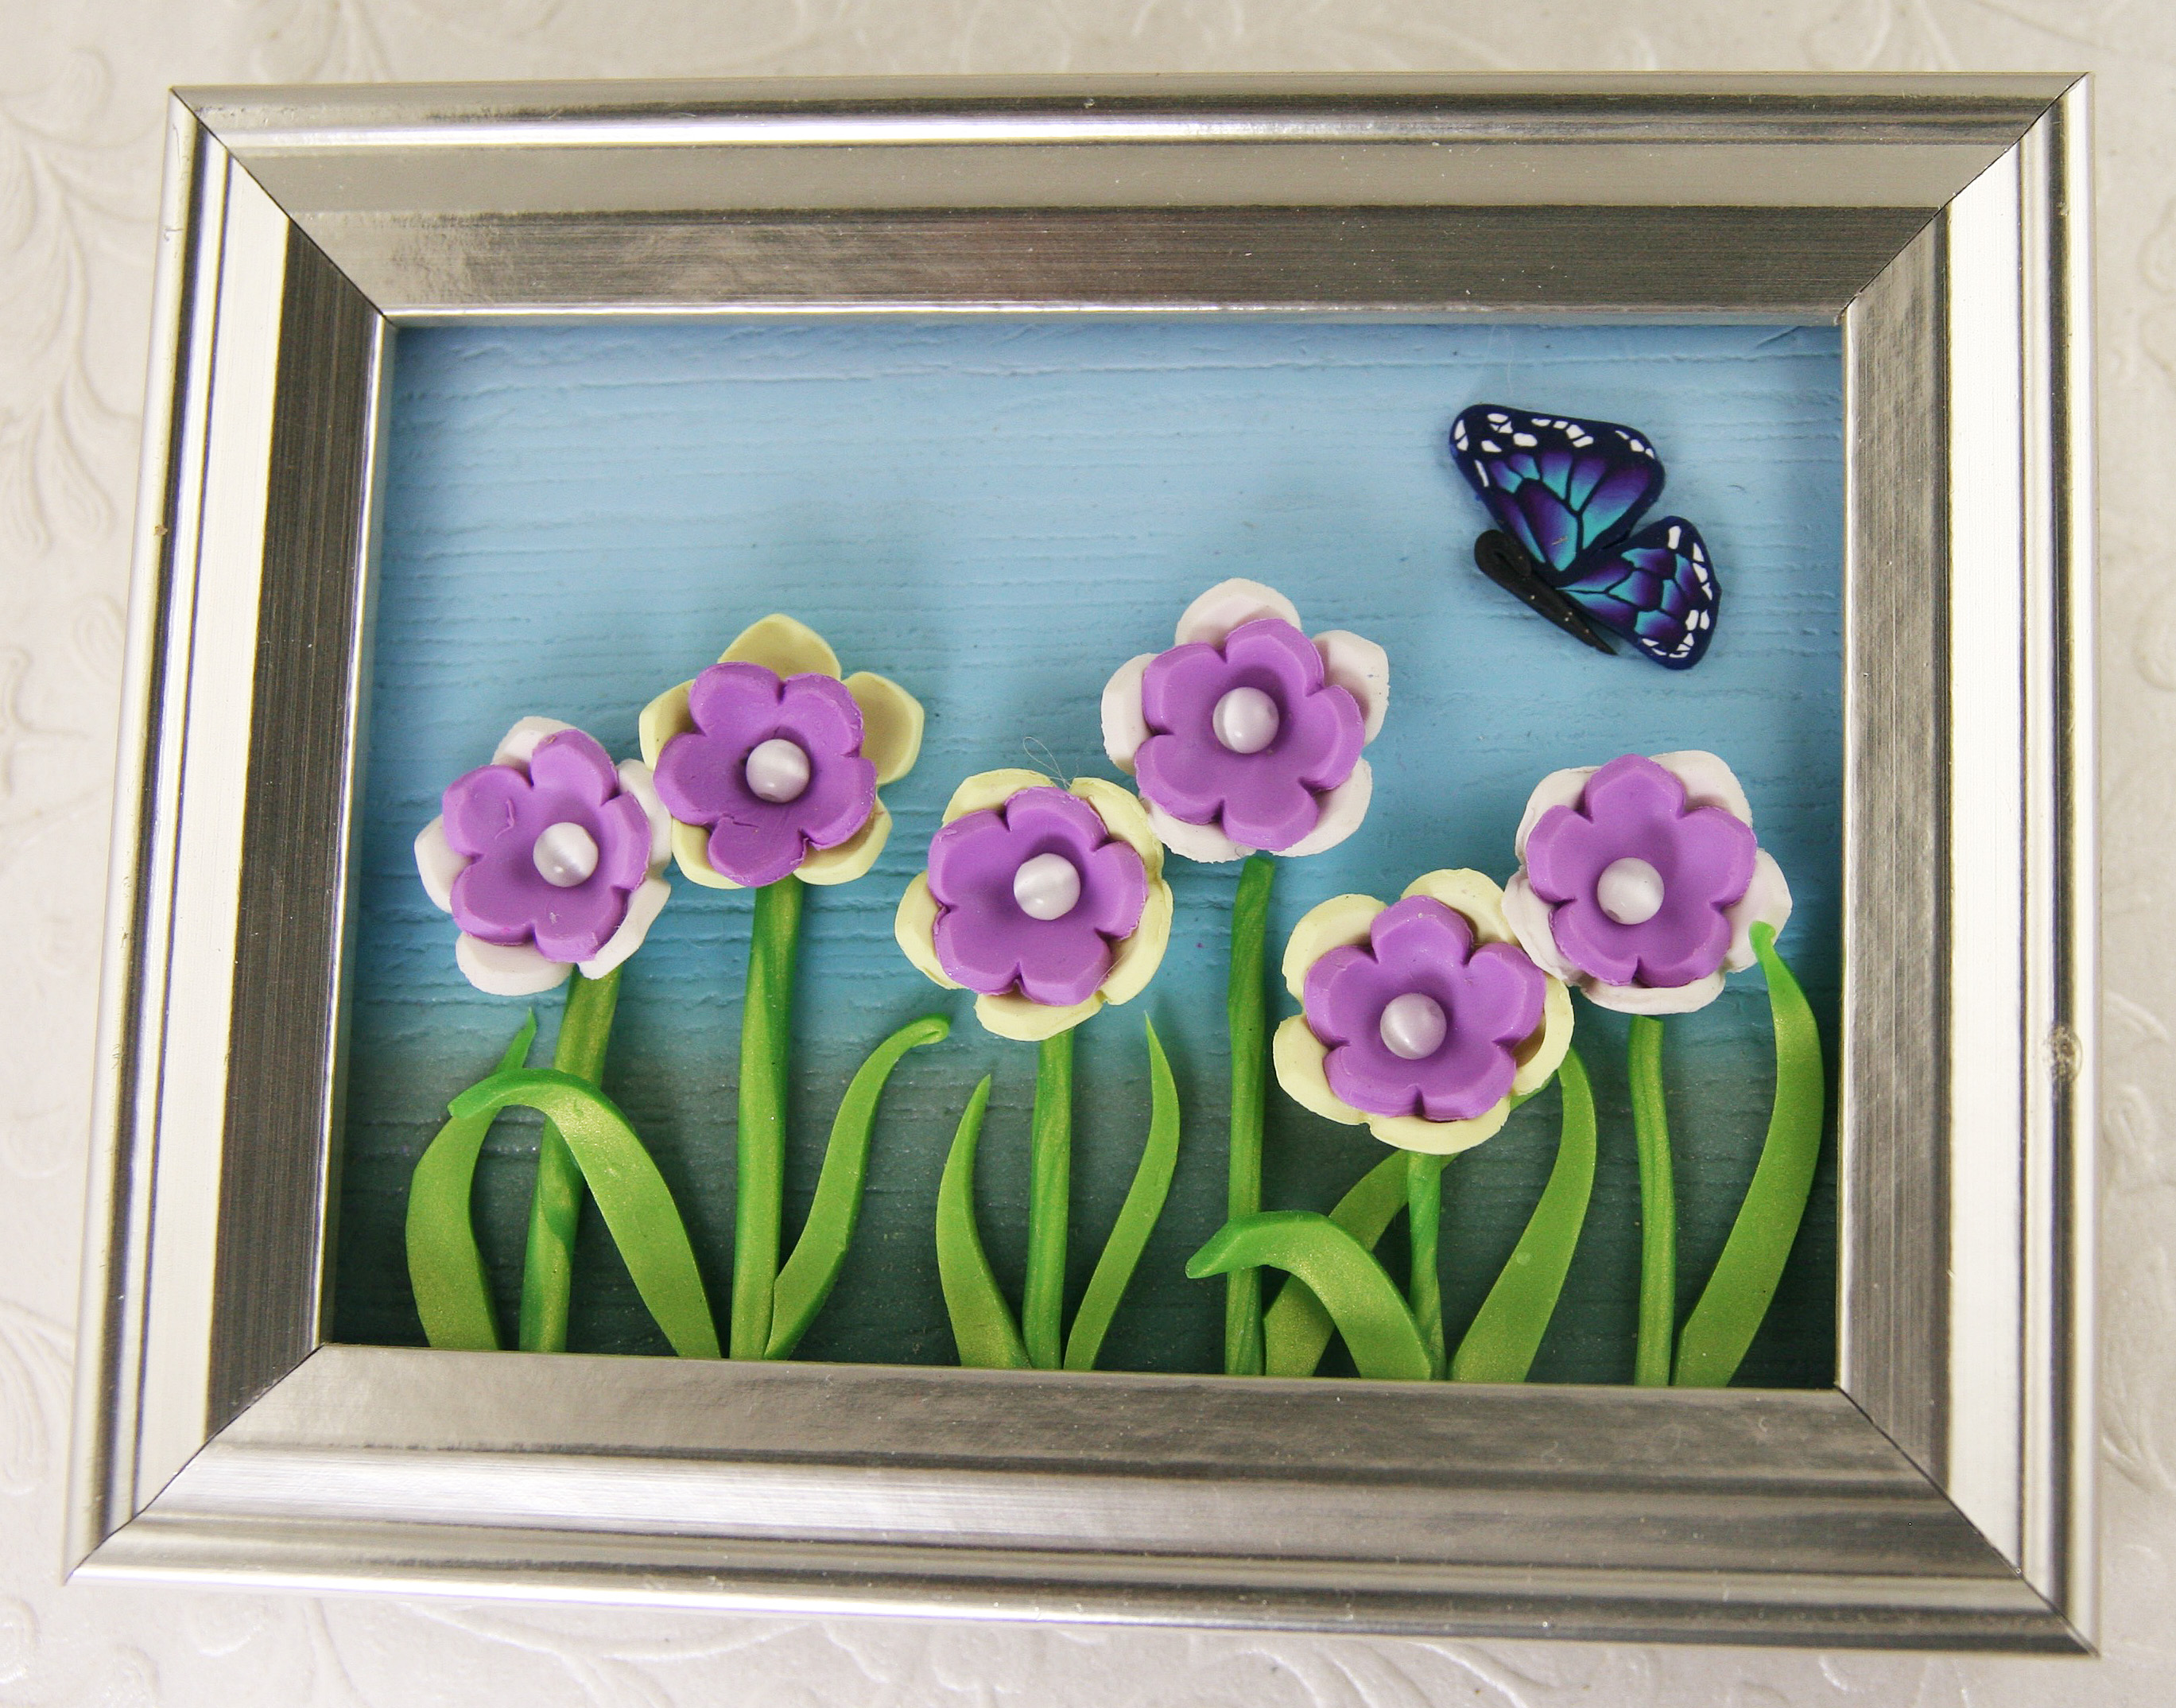
Polymer Pictures
Saturday, May 4, 2024
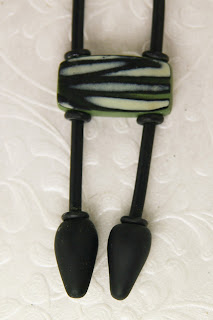
Polymer Pens

Sunday, March 31, 2024
Westerly Annual Regional Art Show
The Artist Cooperative of Westerly is holding their 29th annual Regional Art Show. The show is open to anyone, and is judged by a juror who does not know our members. Frequently, members submit items and are not selected for the show. People are allowed to enter up to three pieces, and the judge makes a determination on which ones meet their standards for that particular medium. Art is very subjective, and that makes the resulting show very eclectic and interesting. I always enjoy seeing what does and does not get selected.
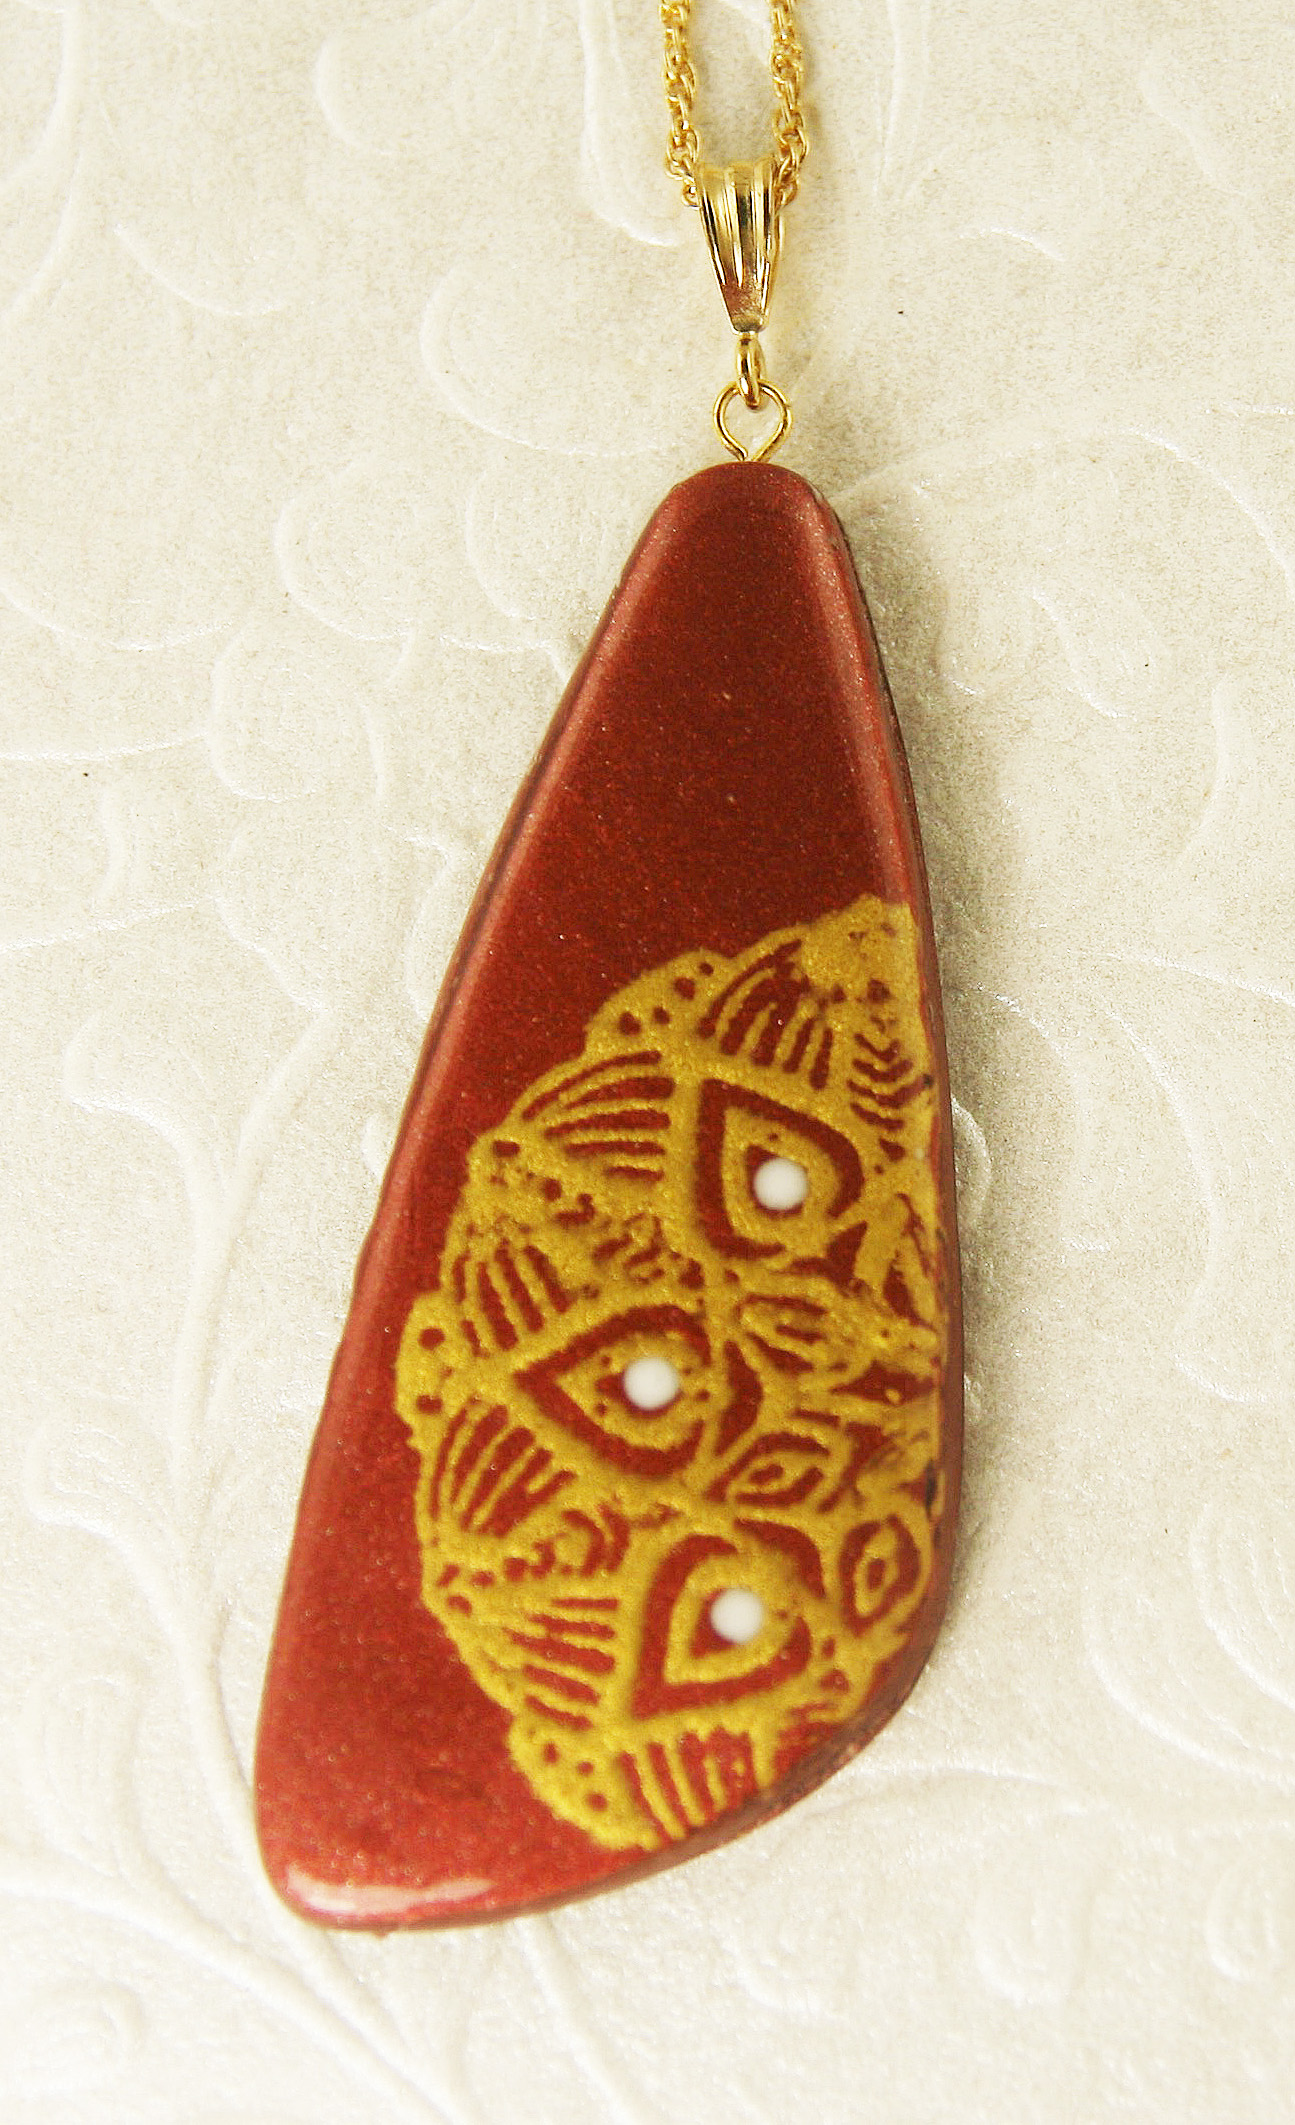
 This year, I'm entering 3 pieces and we'll see what happens. The first piece to the left is made completely of polymer pinched-petal canes, with some rolled polymer beads to lie flat behind the neck. The pieces below show: A hand-formed, hand painted porcelain focal, with a PMC fine silver bail, on a beadwoven necklace (all made by me). The last photos are of a polymer pendant with a beadwoven center, and a buna cord with adjustable closure.
  They are all rather different, and I'm interested to see what the judge thinks.


Tuesday, January 30, 2024
February Polymer Collages


Wednesday, December 13, 2023
Snowflake Hangings


Saturday, September 16, 2023
A Few More Pieces for Early Fall


Thursday, August 31, 2023
Teapots & Polymer


Wednesday, July 19, 2023
Larger Polymer Lidded Containers


Sunday, July 9, 2023
More Small Vases


Tuesday, July 4, 2023
Variations Using Dimensional Bargello
I've been playing around with some of the dimensional bargello that Jana Roberts-Benzon calls "puffy flamestitch." It's really pretty, fun to do, and presents all sorts of interesting possibilities. Jana presented it as a solid, connected sheet. I found it even more fun to make strips and then shape them in different ways. The photos below show some of the various ways I manipulated the strips I made. I particularly like the pieces that are really open and have a light, airy appearance.


Thursday, March 30, 2023
Late March Frosting
Yesterday the temperature reached 60 degrees. This morning, we woke to a sprinkling of snow. Ah, March! Nothing was on the driveway or lawn, but the leaves in our woods were all dusted with bits of white. The scene made me think of a set I made late last year when the first frosts were hitting all the fallen leaves. This seems like the perfect time to share a couple of photos. 


Monday, March 27, 2023
Sparkle & Shine Long Pendants


Wednesday, March 15, 2023
Painting on Polymer with Liquid Watercolor
I tried something new recently. I won't go into too much detail because this particular technique comes from a tutorial by Debbie Crothers. Her tutorials are well-done, and she has some unique approaches to both using and embellishing polymer. Every once in a while, I find a tutorial that piques my interest. This particular tutorial, which she calls "Silkwater" introduced me to both a new product and a new idea. I had never thought about watercolor paints on polymer. It just seemed they would be too runny and difficult to control. Debbie has found a way to manage that issue. The tutorial also introduced me to a product I had not heard of before: liquid watercolors. There are different brands with different features. I totally enjoyed "playing" and getting comfortable with their use.
 Here's a photo of some pieces I made after experimenting a bit. It's been a lot of fun to try something totally new. I think you can really see the "watercolor" effect. I backed the pieces with black and used black liquid clay as an edging to set the surfaces off just a bit. I used a doming resin, Magic Gloss, to seal the surface. I'm looking forward to doing more!

Saturday, March 11, 2023
Finally!!
Hello! If you've been checking periodically, you know it's been a long time since I posted to this blog. The changes they made in the Blogspot software meant it would no longer work on my old computer. However, that trusty machine has finally decided to call it quits, and I now I have a new machine that seems totally fine with the updated software. Yay!
Although I haven't been posting, I have been working with polymer - and I have tons of things to share. So, over the next days/weeks/months I'll be posting different projects and ideas I've been exploring. They may not be in any particular order, but I will try to stick to one topic (or maybe 2....) per post.
I'm in the midst of making lots of different jewelry right now because I'm a featured artist for the April Show at the Westerly Art Gallery. So today I'll post a couple of photos of things I'm in the process of making for the show. The theme is "Feast for the Senses: Spring is Here!" which really meshes with my enjoyment of color and florals in polymer.
 These bright flowers to the left are all pendants which will hang from simple gold or silver chains.
 Here are a few earrings that are something new for me. This is the first time I've added the top portion to create motion in a drop earring. Also, I've experimented with some new floral designs.
It's nice to be blogging again. :)
Here are a few earrings that are something new for me. This is the first time I've added the top portion to create motion in a drop earring. Also, I've experimented with some new floral designs.
It's nice to be blogging again. :)


Thursday, May 28, 2020
A New Cuff!
A few months ago, I purchased a bracelet cuff tutorial from Bettina Welker, an outstanding German polymer artist. Among other things, Bettina is known for her clever hidden closures, clasps, and hinges. I really like cuff bracelets, but usually they have to be slipped over a person's hand and then they may, or may not feel right on the wrist. This new design allows you to create a more custom fit that does not have to slide over the hand.
Today, I'm sharing with you my first cuff using her tutorial. Now that I know how she created the closure, I have plans to create more using my own designs and ideas. Her tutorials are available on her website under the heading "Instructions" : https://bettinawelker.de/anleitungen/ Below are 3 photos. One shows the cuff from the front, one from the back, and one shows part of the closure.


Today, I'm sharing with you my first cuff using her tutorial. Now that I know how she created the closure, I have plans to create more using my own designs and ideas. Her tutorials are available on her website under the heading "Instructions" : https://bettinawelker.de/anleitungen/ Below are 3 photos. One shows the cuff from the front, one from the back, and one shows part of the closure.


Monday, February 3, 2020
Going Concave
 As I believe I mentioned in an earliery post, the Westerly Gallery January show had the theme: Exploration: New Perspectives. One of the things I decided to try was to make pendants with a concave rather than convex form. This meant that, instead of the center of the piece rising to the eye, it would recede.
 I had fun working with different shapes, mixing and matching patterns, colors, and textures. You will notice for several of them I used the mokume gane technique, and several of the pieces incorporated metal leaf.
Below are more of the pendants I made.


Friday, January 17, 2020
Snowflakes ~ After all, it is Winter
 A few weeks ago, I held a class focused on making polymer snowflakes. We decorated them in a variety of ways. I was really impressed at the imagination participants used to make the snowflakes glitter and shine. Our biggest job was picking up the glitter when we were through. :)
 I'm posting here a few of the snowflakes I made. I think these would be fun to hang in a window, on a door, or from a lamp, depending on the size. There is even a pair of earrings. Besides all being different, these snowflakes have the advantage of never melting!


Tuesday, December 17, 2019
Wearable Kaleidoscopes
 A couple of weeks ago, I gave a workshop about making polymer Ikat stacks. We used the stacks to cover these fun little wearable kaleidoscopes. These are real kaleidoscopes, complete with a glass mirror prism inside. A simple, adjustable golden chain makes it possible to wear around the neck. I decided these might make fun gifts, so made a few for the Holiday Show in Westerly. Here are some of the ones I made.
Friday, November 15, 2019
Dichroic Holiday Sets
 I love the special shine and sparkle that comes from using metal leaf and alcohol inks on polymer. When the holidays start rolling around, these are the pieces that people seem drawn to, and they make great presents. I worked up a sheet with reds, pinks, blues and purples, and have made several pieces from the base. I need to switch it up and bring in greens, yellows and oranges, so don't be surprised if you see some of those in the near future. In the meantime, here are some of the sets from the first color combination.
 The set on the left is in just two colors, and I like the calm feel. The set on the right was made from strips of the colored sheet that were sliced and randomly placed against each other.
Subscribe to:
Posts (Atom)