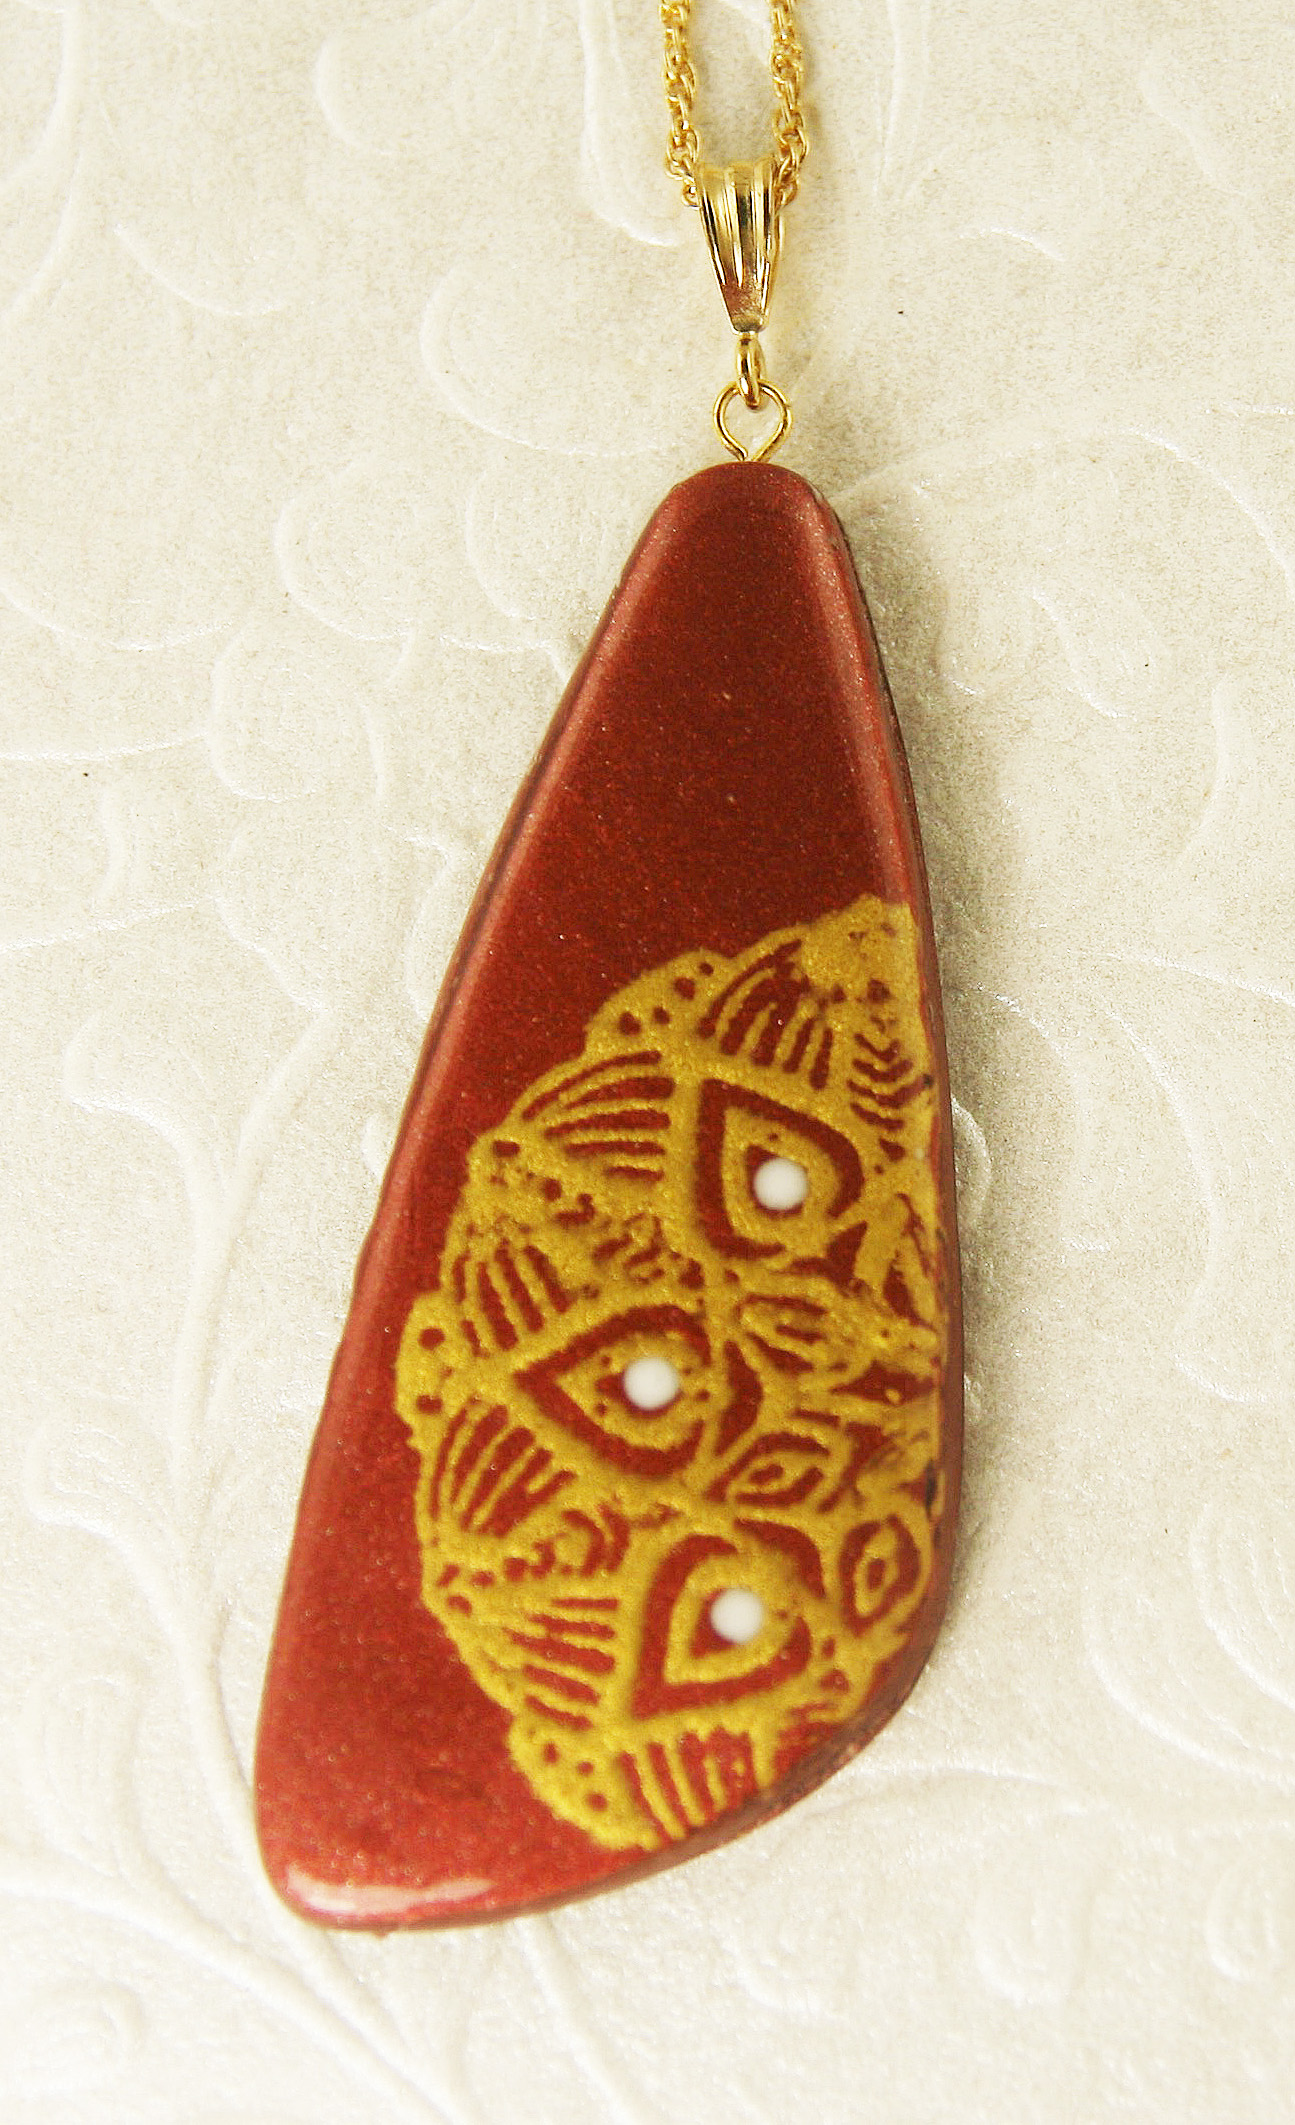


 One of the features of polymer clay is how well it adapts to texture. As I mentioned in an eariier post, I have a new silicon rubber mat with a cross-hatch pattern that looks a great deal like a woven fabric. and I've been enjoying working with it. Here are a few more pieces I've made using the new texture. I pressed embossing powder into the textured clay before cutting, then baked the pieces. The embossing powder bonded well with the clay, so I did not put a finish on the pendants and pins, primarily due to the openings on many of these pieces and the flower charm sticking through. I am also making earrings with the texture and the embossing powder. I plan on using Magic Gloss on them to give the powder extra shine.


 I have a couple more pieces I made recently while on the mokume gane kick, and wanted to share them here. This first set is made using a polymer clay stack of alternating colors, pressed with various objects, then sliced thin. I really liked the sea blue-green color I custom-mixed and the way the design turned out. I decided to leave the matte finish. One of the polymer colors I used was the black glitter accents from Premo! and the sparkle and shine from that color contrasts really nicely with the matte of the blue-green and cream colors I mixed.
 I really, really like the effects one can achieve with the mokume gane technique. Actually, there have been several different iterations of mokume gane in polymer, so I should, perhaps, refer to it as the mokume gane "concept." Recently, the Westerly Artist's Gallery held a demonstration of various art techniques, and I demonstrated mokume gane in polymer.
 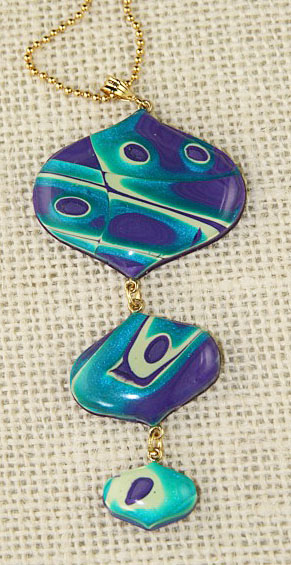 The three piece pendant on the left was also created with sheets from this stack. I really like this new shape form I found, and the tiered look is fun. I covered these pieces with Magic Gloss which adds another level of depth to the design.
 For this first posting, I'll share a bit from an all-day workshop with Ann and Karen Mitchell of ANKARA Designs. This workshop was on various uses of liquid polymer. The sisters have all sorts of ideas, including tips and tricks, which they willingly shared with the participants. In the morning, we worked on mosaic pendants which were later encased in liquid clay. One tip was to be careful about putting the liquid clay over the metal leaf sections on our pendants. The leaf was easy to rub off unless the liquid polymer was added carefully. All the pieces on the mosaic, with the exception of the seed beads I used, were made from various processes using polymer.
 In the afternoon, we worked on a project that I found fascinating. The Mitchell sisters have developed a process for transferring images onto regular fabric. After baking, the fabric may be cut and the pieces used. The photo here shows an edge of fabric with the transfer on top of the majority of the fabric piece. The leaf shape was cut from the treated fabric piece and shows the back of the fabric. The holes are designed to allow sewing of beads or other items through the polymer/fabric to create shapes for items such as jewelry. All-in-all, it was a very interesting process, and one I plan to revisit soon.
 I just finished this pair of earrings, and thought I'd share. They are made from superduo glass beads and rivoli crystals, and the sparkle and depth are really lovely. I will be teaching this technique in my March bead-weaving class at Nature's Art. It's a great little design, and can easily be configured into a bracelet or necklace. Additional embellishments around the edge could turn it into a very special pendant. Bead-weaving was my first jewelry-making outlet, and I still enjoy watching beaded objects emerge from a simple needle, thread, and my fingers.
 I'm dropping by to share a couple of pendant & earring sets I just finished. I made these from the mokume gane stacks I used for demonstration in the workshop I mentioned in my last posting. You can see the difference between the pieces shown here, using gold composite leaf, and the cuff bracelets in the last post that were made with variegated leaf. I really like the almost watery effect that the lightly tinted translucent clay makes when it is over composite leaf. As you may be able to tell in the photos, the pieces I made using the variegated leaf look more like slices of stone. The teal pieces shown here have the appearance of looking into small pools of water. I also had fun creating openings in the teal pieces and adding the sparkle of some crystals. The finish on the green and pink set is Magic Gloss, while I used PYM 2 on the teal set.
 Before I show you my experimental pieces, I'm going to show you a photo of jewelry pieces made up in more traditional format. The design creates sheets that have color and pattern similarities, but the design is not a repeating pattern. So pieces cut from the same sheet "go together" well, but do not exactly match. The earrings, pendant and cuff bracelet in this photo show what I mean. The stripes and mixes are not exactly the same in all the pieces, but they harmonize well.
 The next 2 photos show what I made with the feathered sheet at home. These pieces were all cut free-hand, and I was amazed that they seemed to just work together. I just sort of cut in a curved pattern - and look what happened! I'm not sure what I'll do with these three loose pieces at right.
 Recently, I saw a picture of a three-dimensional tree mounted on a canvas background for use as a small wall-hanging. The work was done by Laura Fesser and is just lovely. I really liked the effect, and couldn't resist giving it a try as jewelry of some sort.

 It's been a busy month - busy with everything except working with polymer. I was finally able to put aside a block of time or two, and have some new things to share. I wanted to do something that picked up the bits of gold we are starting to see in the trees here in New England. I decided to use the hills and valleys mokume gane technique with translucent polymer mixed with two of the new colors for fall - Cashmere Rose and Biscay Bay. I started with the rose shade, and imbedded the pieces with gold electroplated glass seed beads for a bit of contrast. The first photos shows some of the pieces I made.
 On to blue! Here are 2 pendant and earring sets. I especially like the motion of the multiple pieces. Sometimes doing something fairly simple adds a lot of interest to a piece.
 Of course, there is the traditional "inchies" exchange where everyone makes enough 1inch square tiles to trade with the other participants. Inchies are usually based on a theme. This year, the focus of the retreat is extrusions, so my inch tiles are extrusion-based. As you can see by the tiles to the left, I made flat patterns using extruded snakes, then shaved off the edges to reveal the colors below. I used the shaved pieces and placed them on solid color backing to create the more random looking pieces. It's sort of a combination of extrusions and mokume gane techniques. The process is great fun and the results look pretty good, too.


 The next two sets are examples of feathering with ikat canes. I have always loved the look of feathering in lampwork beads, and have experimented a bit with feathering striped polymer clay sheets. It took a nudge from Lindly, however, to make me realize I could try this with ikat. Oh, the results! I found that stretching the sheets out on the pasta machine after doing the initial feathering created a simply wonderful look. Both the lavender and the yellow sets show the results of stretched feathering.
 Now for another twist: herringbone! This particular manipulation makes the clay look three-dimensional. I textured this surface for a couple of reasons. The herringbone treatment just seemed to be somewhat "rustic" and therefore more muted to me, and texturing helped ease and set the joins between the strips. Don't you love it when form and function work together!


 Most of my pendants are of a medium size, and, as I experiment with some processes, they sometimes get a bit larger. However, there are those who prefer smaller items, and with the holidays in sight, I have been making some smaller pendants. I call these pieces "pendanitas" or little pendants.


